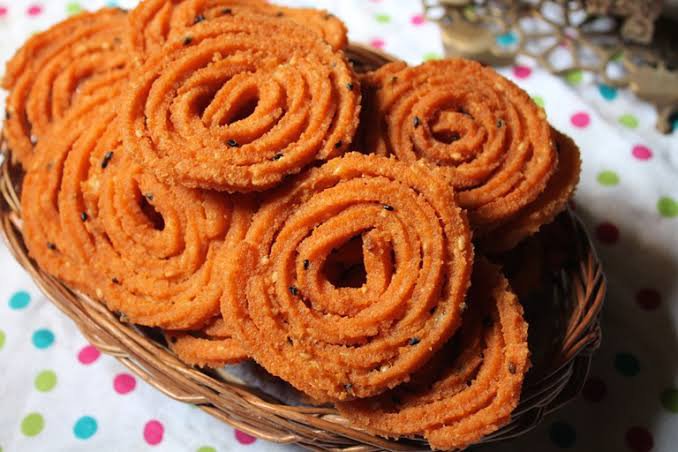
In addition to the place that is known for curries and flavors, India is likewise inseparable from a plenty of broiled snacks. One of it is the fresh, crunchy Murukku or Murukulu. Famous under this name in South India, this exquisite bite ordinarily comprises of rice and lentil flours alongside flavors and flavors. Different South Indian families have various assortments. Mine here, is the essential Murukku Recipe with many investigating tips and pointers, which’ll assist you with making this yummy nibble without any preparation, at home.
What is Murukku
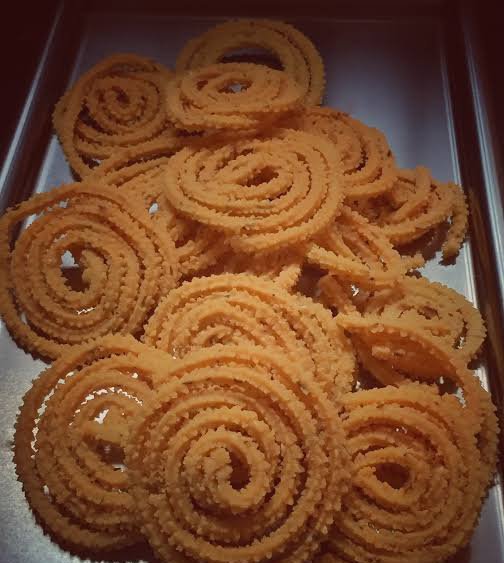
The word Murukku is generally a Tamil word signifying ‘bent.’ Consequently, making clearly the shape this bite is round and spirally turned. These are renowned as a lunch time nibble down south and are likewise made in mass amounts during numerous celebrations.
Not simply Tamil Nadu, a Murukku Recipe is a particularly favored one in the vast majority of the families in different provinces of South India. For example, Kerala, Andhra Pradesh and Karnataka.
A few names of the Murukku in other local dialects are murukulu/jantikalu/chakralu (Telugu), nadikili (Odia), chakkuli (Kannada) and chakri (Gujarati and Konkani). Maharashtrian cooking calls it a Chakli, where the fixings likewise contrast than its South Indian partner.
Step by step instructions to make Murukku.
Make urad dal flour
Make murukulu mixture
Forming murukku
Searing murukku
In the event that you are wanting to utilize bundled urad dal flour, move to the subsequent principal step of making the mixture.
Make Urad Dal Flour
1. Heat a little skillet or kadai. Hold the intensity to its least and add 3 tablespoons (40 grams) urad dal.
2. Start to dry dish urad dal. Mix frequently, while simmering the lentils.
3. Cook urad dal till fragrant or light brilliant. Try not to brown. Move to a plate and let the simmered urad dal cool to room temperature.
4. Then, at that point, take the cooked urad dal in a little dry processor container, little chutney processor container or a little blender.
5. Drudgery to a fine flour. Put away. Guarantee that the flour surface is fine. A coarse or dirty surface will tear the batter while molding.
More Arrangement
6. In the interim, spread oil on the plate of a ‘murukku producer.’ This is a one star-molded circle and will be a piece of the murukku creator that you have.
7. Likewise, spread some oil with respect to the murukku producer vessel where the batter will be set.
Make Murukku Mixture
8. In a fine sifter, take 1 cup (150 grams) rice flour.
9. Likewise, add the arranged urad dal flour to a similar sifter.
10. Then, add ¼ teaspoon red stew powder, ¼ teaspoon or ⅛ teaspoon asafoetida and ½ teaspoon salt or according to taste.
11. Filter the dry fixings two times.
12. Then, at that point, add 1 teaspoon white sesame seeds, ½ teaspoon carom seeds (ajwain) and 2 tablespoons (40 grams) ghee.
Note: Rather than carom seeds you can likewise utilize cumin seeds.
13. Blend everything well overall. With your fingertips, blend the ghee in the flour equally. The blend ought to look like breadcrumbs.
14. Take a little part of the combination in your palms and it ought to keep itself intact. It shouldn’t split or fall up.
In the event that it splits or falls up, add 1 to 2 teaspoons more ghee. Blend again well indeed and afterward check.
15. Presently, add water in parts and start to blend and massage.
16. Continue to add water in parts and work well overall.
17. You will require around 10 to 11 tablespoons water. How much water required will rely upon the nature of rice flour.
Check the flavor of batter and add more salt, whenever required.
18. Ply to a smooth and delicate mixture. Additionally, keep the mixture marginally clammy, however don’t make it too soggy or tacky as then the murukulu will retain more oil.
Murukku must be made when you manipulate the mixture. Thus, keep everything prepared before you shape and sear them. Additionally, don’t allow the mixture to rest for any measure of time.
Shape Murukku
19. Presently, partition the mixture in 2 sections and add initial segment in the murukku producer. Cover the second piece of mixture with a kitchen towel.
20. Before you start to shape the murukulu, start to warm oil as expected for profound broiling in a kadai (wok) or skillet.
Keep the oil on a low or medium-low intensity, with the goal that it doesn’t turn out to be excessively hot. Utilize any high-smoke point impartial enhanced oil.
Use spread paper or material paper squares. Cut them and keep prepared before you make murukulu.
Press the murukku producer and move in rounds to get the concentric circles or twistings on the paper squares. Break the mixture towards the end and press it to the last concentric circle of the winding.
Tip 1 – Assuming the Murukku breaks while shaping, this implies that the mixture needs more dampness. Add 1 or 2 tablespoons water and massage the batter once more.
Tip 2 – In the event that you are not getting legitimate shape, this imply that the batter is excessively damp. Add some rice flour and manipulate once more.
21. Make a cluster of Murukku. Model, make 3 to 5 Murukkus that you will sear.
Sear Murukku
22. Then, test the temperature of the oil. Add a little piece of the mixture in the oil and it ought to come up bit by bit.
On the off chance that it comes up quick, the oil is hot. Then, at that point, decrease the intensity. Assuming that it sticks, is at the base or comes up leisurely, the oil isn’t sufficiently hot. Then, at that point, increment the intensity.
23. Take the spread paper with the murukulu in your grasp. Then, take a little to medium size wooden spatula and put it on the Murukku delicately.
24. Then, tenderly turn over the spatula. The margarine paper will confront you.
25. Lift the spread paper tenderly.
26. The Murukku will be perfectly put on the wooden spatula.
27. Presently, tenderly slant or spot the spatula in hot oil, so the Murukku slides in the oil.
28. Add the excess Murukku thusly.
29. Sear on medium intensity or at a temperature of 180 to 190 degrees C.
30. At the point when they become light brilliant, flip tenderly with an opened scoop or punctured spoon. Try not to flip them right on time, as they can break while turning over.
31. Sear the subsequent side.
32. Sear the Murukku till the oil quits sizzling or it becomes fresh and brilliant. Try not to brown excessively. Turn over depending on the situation for searing
Tip 3 – Actually look at the main bunch in the wake of broiling. Assuming it looks that it has consumed more oil or are breaking in the oil, add around 1 to 2 tablespoons rice flour and ply once more. This occurs assuming a lot of fat is included the batter.
33. Eliminate with an opened spoon depleting additional oil in the actual kadai. Along these lines, sear in bunches.
34. Put the broiled Murukku on kitchen paper towels to splash abundance oil.
35. When they cool to room temperature, store them in a water/air proof holder or container.
These save well for a long time at room temperature. However, ensure that they are put away in a water/air proof container or compartment so they don’t relax.
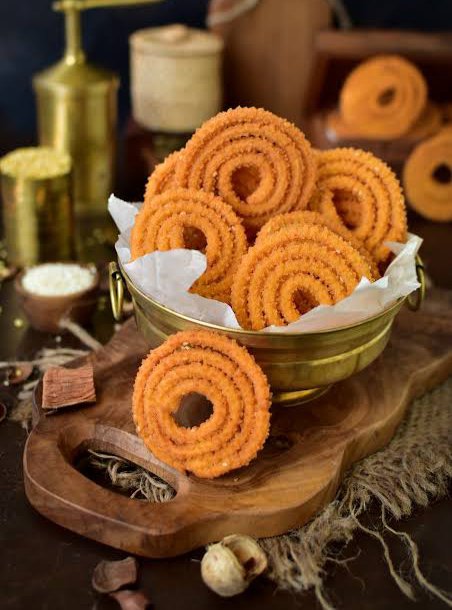
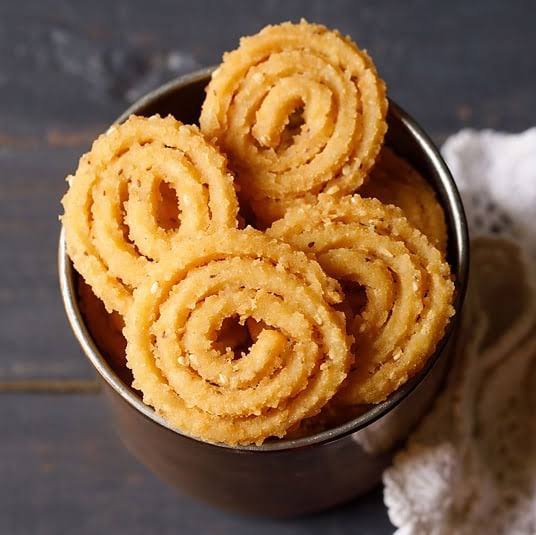
36. Serve Murukku as a break time nibble.
Fixings
▢3 tablespoons urad dal – 40 grams
▢1 cup Rice Flour – 150 grams
▢¼ teaspoon asafoetida powder (hing) – can likewise add ⅛ teaspoon asafoetida
▢¼ teaspoon red bean stew powder or add as required
▢½ teaspoon salt or add as required
▢1 teaspoon white sesame seeds – can likewise add dark sesame seeds
▢½ teaspoon carom seeds (ajwain) – can likewise add ½ teaspoon cumin seeds
▢2 tablespoons Ghee – 40 grams
▢10 to 11 tablespoons water or add as required
▢oil as expected for profound searing
Enjoy 😋

Leave a comment